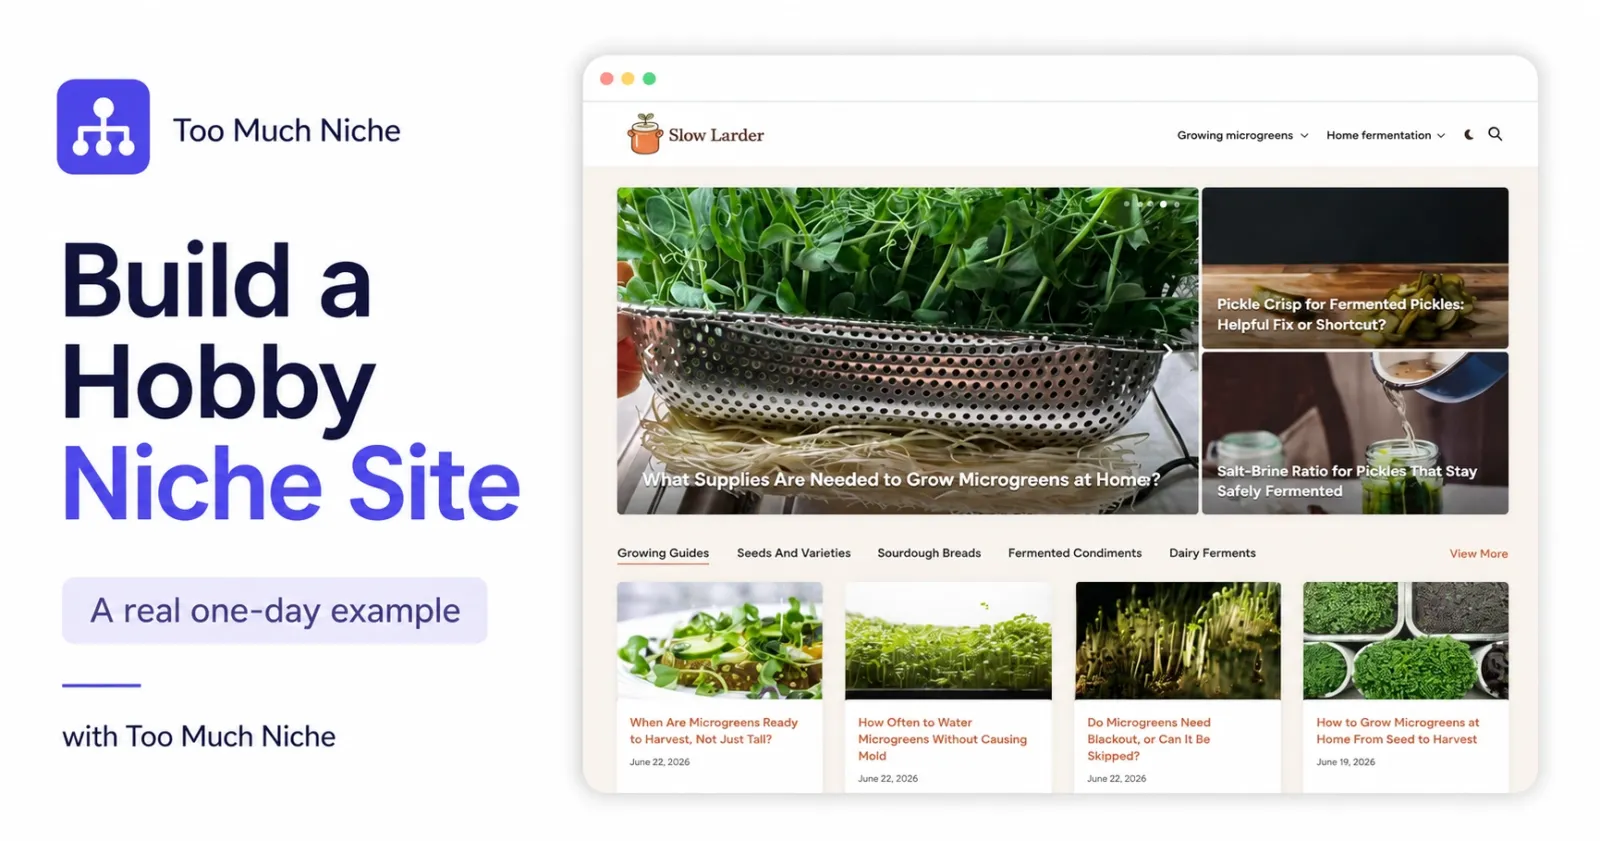
I recently created a small demo site for Too Much Niche:
It is a simple blog about two hobbies I actually like: growing microgreens at home and fermenting vegetables at home.
Nothing fancy. No huge team. No custom design agency. Just a domain, WordPress, a simple theme, a content plan, and articles generated with a real structure behind them.
And honestly, the technical part was almost too easy.
That is why I wanted to write this post. Because today, creating a niche website is not the hard part anymore. You can buy a domain, install WordPress, choose a theme, and publish your first post very quickly.
The hard part is knowing what to publish, in what order, how the articles should connect, and where monetization fits.
So in this guide, I’ll show you how I created my hobby niche site in one day — and what actually matters if you want it to grow.
First, the cold shower
You can create a niche website in one day. That part is true.
But traffic takes time. Trust takes time. Search engines need time.
And if your plan is to publish five random articles, wait two weeks, see no results, and quit, then yes, that will probably happen.
I see this pattern all the time. Someone gets excited, creates a blog, publishes a few posts, nothing happens, and then the project quietly disappears.
The problem is usually not the niche. The problem is the approach.
Most beginners create articles one by one. One idea today. Another idea next week. A buying guide later. Maybe an FAQ if they feel inspired.
There is no structure. No internal logic. No publishing plan. No clear mix between informational content and monetized content.
And now AI has made this problem bigger, because anyone can generate content.
That is not magic anymore.
The real magic is planning the site before you start filling it.
Why I chose a hobby niche
For this demo, I did not want a random affiliate niche. I wanted something I actually care about.
So I chose two related hobby topics:
- microgreens at home
- home fermentation
These are good examples of hobby niches because they have many practical questions. People want to know how to start, what equipment to buy, what can go wrong, how to fix mistakes, which products are useful, what is safe, and what is worth trying next.
That gives you many article types:
- beginner guides
- how-to posts
- troubleshooting posts
- product roundups
- buying guides
- FAQs
- comparisons
- maintenance guides
And because it is a hobby, you can add something AI cannot honestly invent:
your own experience.
Your photos. Your mistakes. Your setup. Your notes. Your opinion.
That matters.
Step 1: Get a domain and hosting
First, you need the boring foundation:
domain + hosting + WordPress
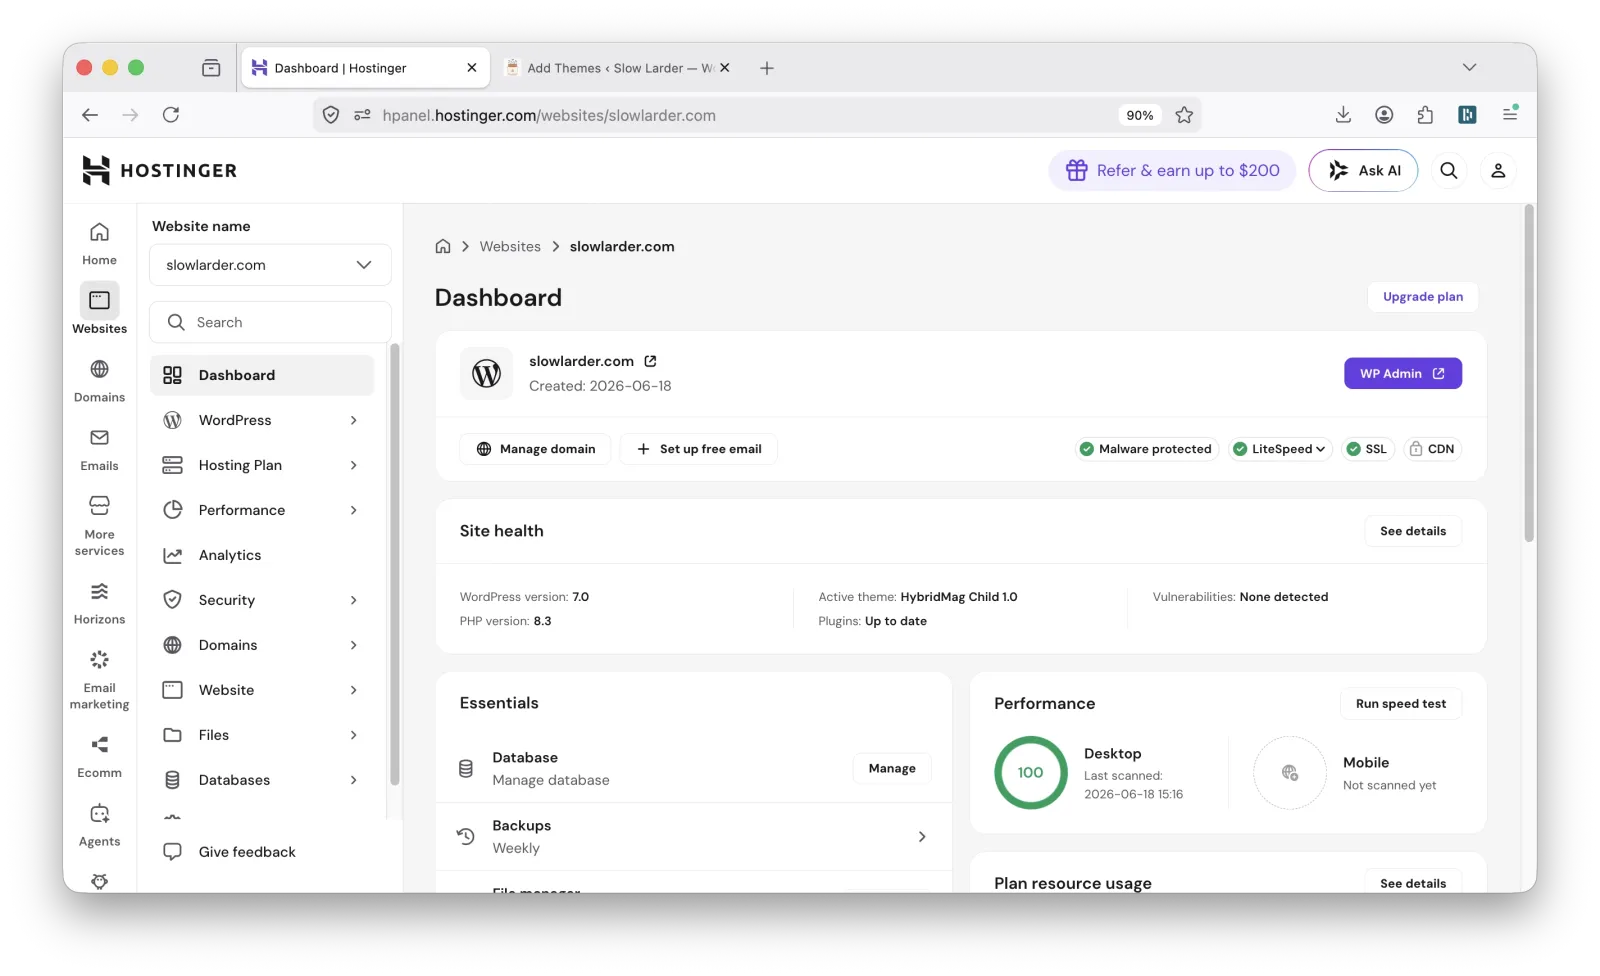
I bought the domain and hosting on Hostinger. WordPress was installed in a few clicks, and that was it.
You do not need a 40-step tutorial here. Most modern hosting companies make WordPress installation very simple. The bigger challenge is choosing a domain name without losing your whole afternoon.
My advice: ask AI for domain ideas.
Give it your niche, your preferred tone, and a few words you like. For example:
I’m creating a blog about growing microgreens and fermenting vegetables at home. Suggest short brandable domain names with a calm, practical feel.
Then check what is available.
Do not overthink it. A good domain helps, but a perfect domain is not required.
One warning about expired domains
Be careful with expired domains.
Sometimes a domain looks clean, but it has history — spam, strange backlinks, or previous use you do not want.
For a beginner project, I usually prefer a fresh domain.
You can check domain history with tools like:
You do not need to overanalyze. Just do a quick check before buying.
Step 2: Install a simple WordPress theme
Next, choose a theme.
My advice here is very simple:
Do not spend the whole day on design.
I know the temptation. You install WordPress, and suddenly you want a logo, custom colors, perfect fonts, a homepage layout, a sidebar, a footer, and maybe three versions of the same button.
That is normal. We all do it.
But button colors do not create traffic. A logo does not build topical authority. A beautiful homepage does not fix a weak content plan.
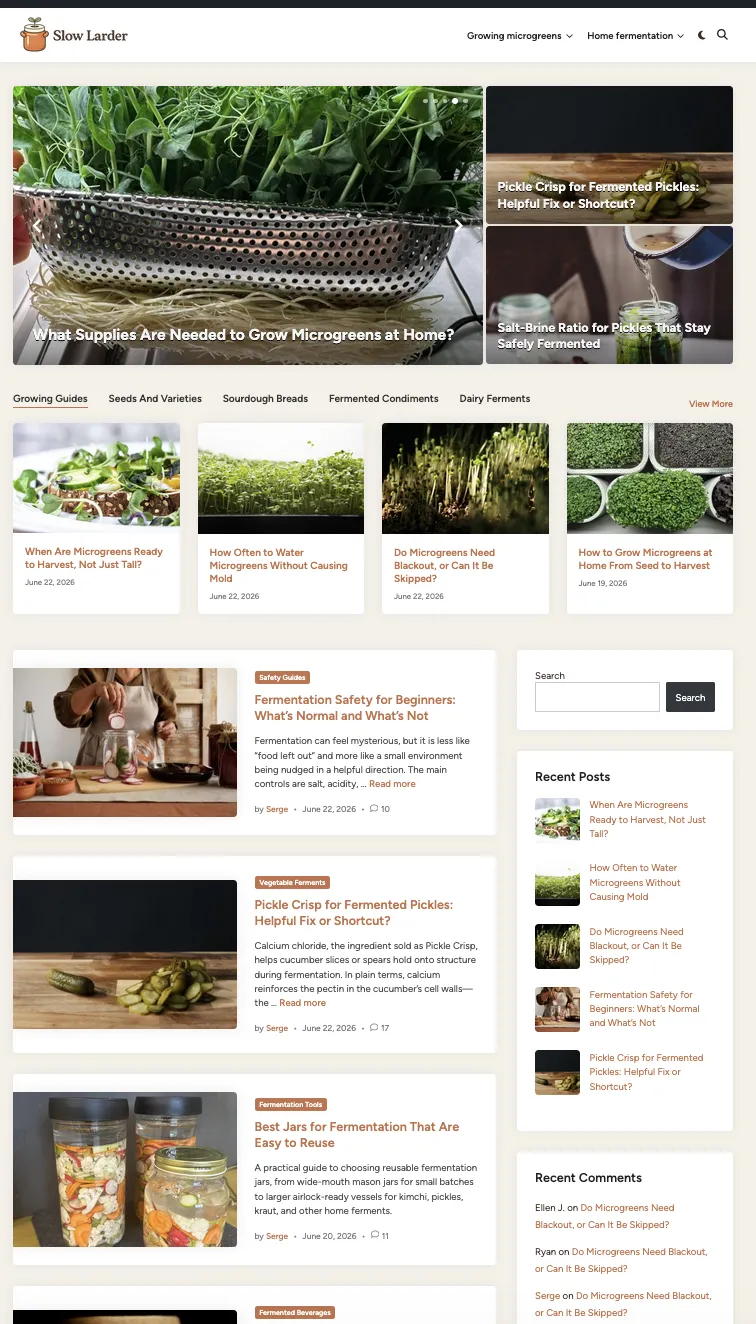
For slowlarder.com, I used a simple classic blog theme: HybridMag.
It was enough.
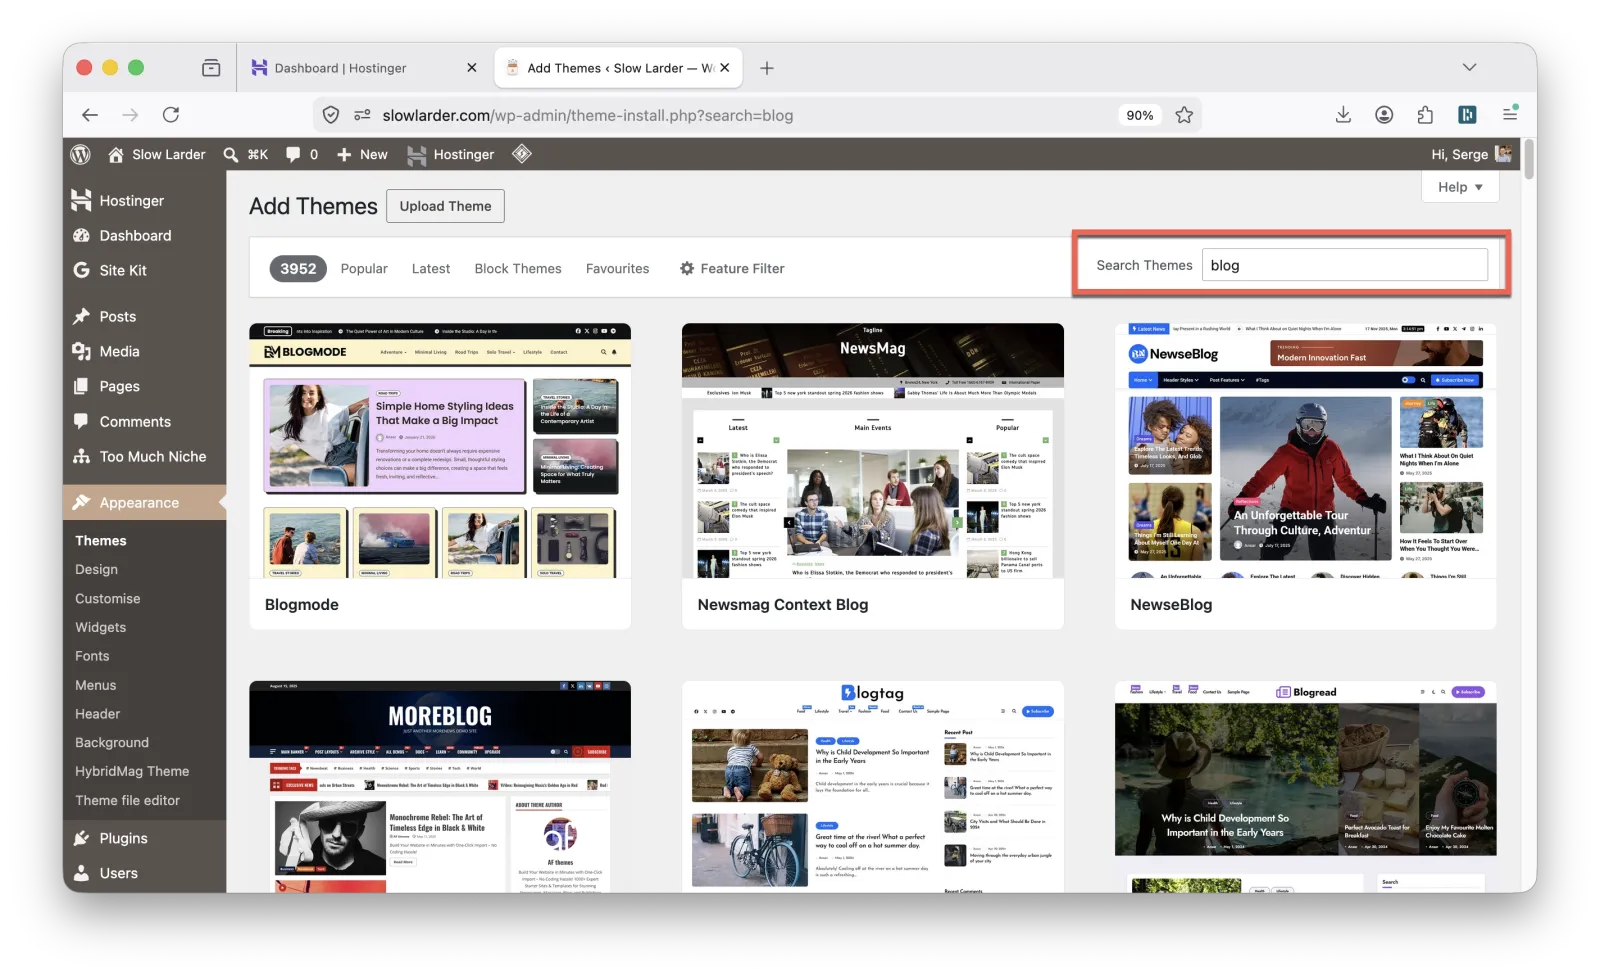
You can also use popular themes like Astra, Kadence, or GeneratePress. They are good themes, but they also have more options. And more options can slow you down.
For this project, I wanted speed. A clean blog layout was enough.
You can always improve the design later. Today, we need a site that works.
Step 3: Add the basic trust signals
Before publishing content, add a few simple trust elements:
- About page
- Contact page
- Author bio
- Social links (if you have them)
For a hobby site, keep it real:
I grow microgreens at home and experiment with small-batch vegetable fermentation. This site documents what I learn, what works, and what I would do differently.
That is better than a generic AI-style author bio.
You do not need to pretend to be a laboratory, university, or 20-person editorial team. Be honest, specific, and human.
I also installed Site Kit by Google to connect the site with Google tools. This helps with analytics and Search Console.
Again, nothing magical. Just useful.
Step 4: Create the content plan before writing articles
Now we get to the important part.
This is where many niche sites go wrong. They start with articles.
I think you should start with the plan.
Not a keyword list. Not a random list of blog post ideas.
A real site plan.
For slowlarder.com, I used Too Much Niche.
Too Much Niche does not just create one article. It plans the site structure first.
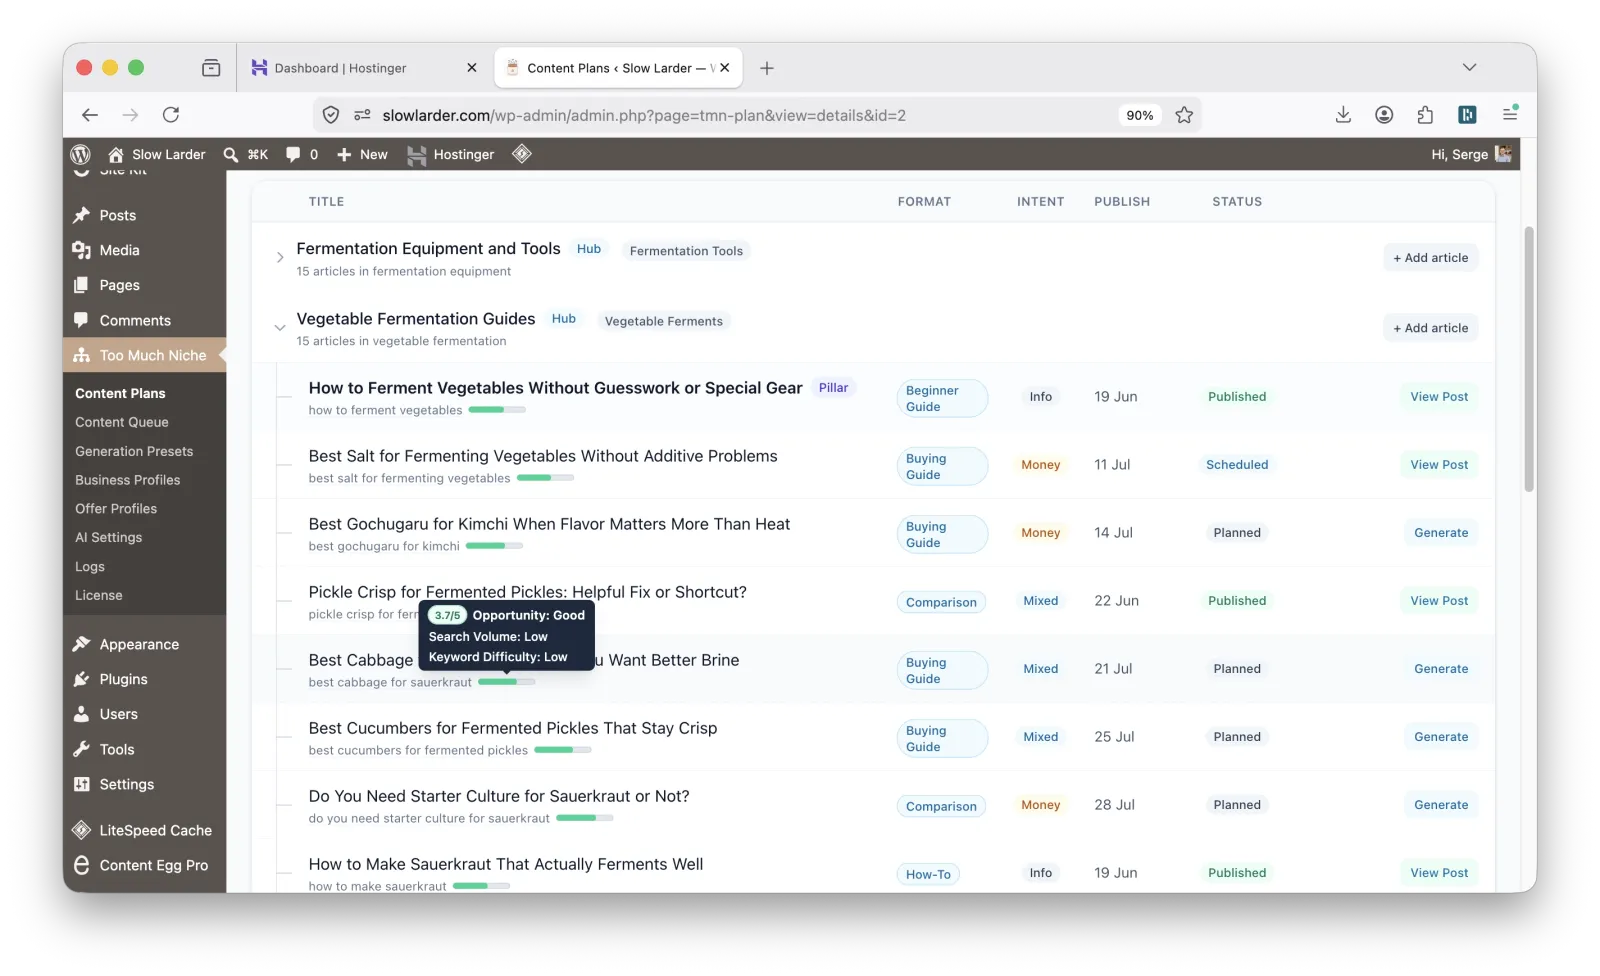
That means:
- hubs
- pillar pages
- supporting articles
- article formats
- search intent
- informational and money content mix
- internal links
- publishing schedule
- monetization opportunities
This is the part most AI writing tools skip. They help you write, but they do not always help you build the site.
And there is a big difference.
A niche site is not just a pile of posts. It needs structure.
Some articles should explain the basics. Some should solve beginner problems. Some should compare products. Some should support larger guides. Some should link back to a hub page.
This is why I care so much about planning.
Anyone can generate 1,000 AI articles now. That is not impressive.
The question is:
Do those articles have a job?
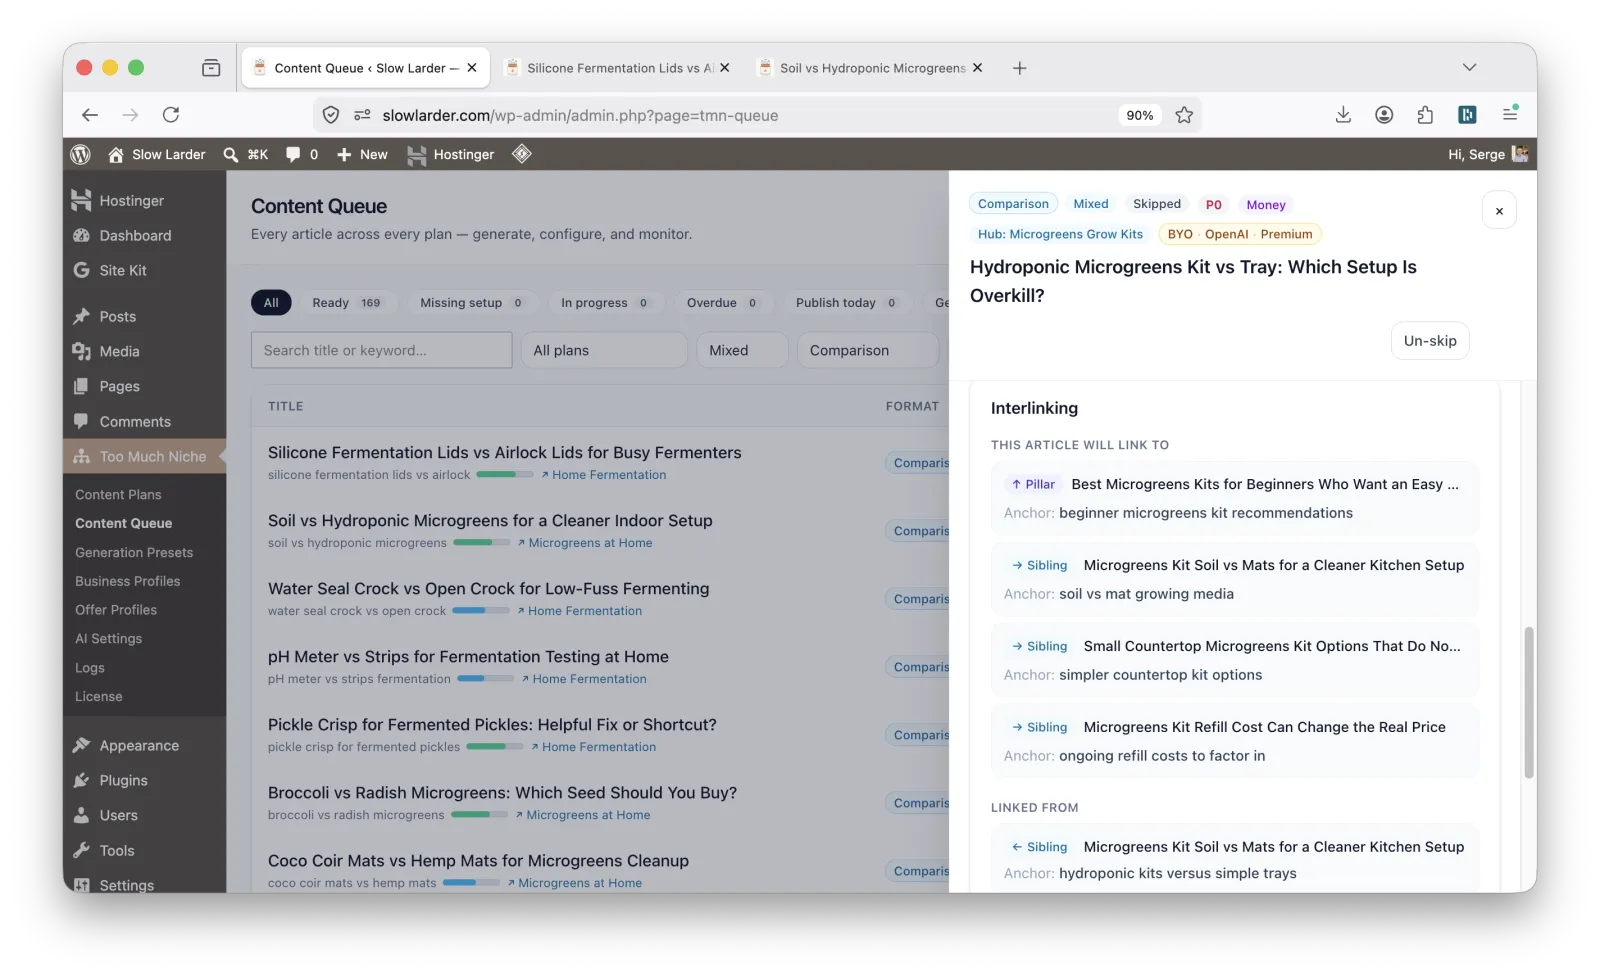
In a good niche site, every article should have a role. One article introduces a topic. Another answers a common problem. Another compares options. Another supports a buying guide. Another links back to a hub page.
This is where internal linking becomes important. Not random internal links. Not “read this also” thrown everywhere. But contextual links that make sense.
A planned site should feel connected, like a small library.
Not like someone dropped 200 printed pages on the floor.
Step 5: Generate the articles
Once the plan is ready, article generation becomes much easier.
At this stage, you are no longer staring at a blank screen. You are not asking, “What should I write today?”
The plan already answers that.
You know:
- what each article is about
- what format it should use
- what search intent it targets
- where it belongs in the site
- what it should link to
- when it should be published
You can generate the articles and schedule them according to the publishing calendar. That is useful because you do not need to publish everything at once.
You can prepare the content now and let the site grow on a schedule.
This is also good for your own workflow. You can review posts in batches, improve them, add photos, edit weak sections, and make the site better before content goes live.
Step 6: Review and moderate the content
Do not skip this step.
AI can help you create content faster, but you should still review what gets published. Especially if the site is about your hobby.
This is where your real experience matters.
When I generated articles for slowlarder.com, I found myself reading them with genuine interest. That is a good sign. I was not just checking text. I was learning things.
For example, I discovered that calcium chloride can help fermented cucumbers stay crunchy. I had not heard about that before.
So yes, the AI helped me produce content. But it also gave me points to check, test, and improve.
That is the right relationship with AI.
Not blind trust. Not fear.
Use it. Review it. Improve it. Add yourself to it.
If something sounds generic, rewrite it. If something needs a personal note, add one. If you have a better photo, use it. If you know a common mistake from your own experience, include it.
That is how the content becomes more useful.
Step 7: Add real photos when you can
If you build a niche site about your hobby, you probably already have useful photos on your phone.
Use them.
Your microgreens tray. Your jars. Your tools. Your shelf setup. Your mistakes. Your successful batch. Your failed batch too.
Real photos help the site feel real. They show that someone actually does the thing they are writing about.
You do not need professional photography. A clear phone photo is often enough.
Of course, make it clean. Crop it. Use good lighting. Do not upload huge uncompressed images.
But do not wait until everything is perfect.
A real photo of your actual setup is often more valuable than a perfect stock image. This is one of the easiest ways to make a hobby site better.
And it is something generic AI content cannot honestly provide.
Step 8: Prepare monetization from the beginning
Now let’s talk about money.
This is where many people get impatient. They want to launch the site and earn immediately.
That is not how it usually works.
A new site needs time to get traffic. But you can prepare monetization from the beginning. That means when traffic does arrive, your site is not empty from a business point of view.
For slowlarder.com, I used Content Egg together with Too Much Niche.
Too Much Niche can select relevant products during the content generation stage. Content Egg then handles the product blocks inside the article.
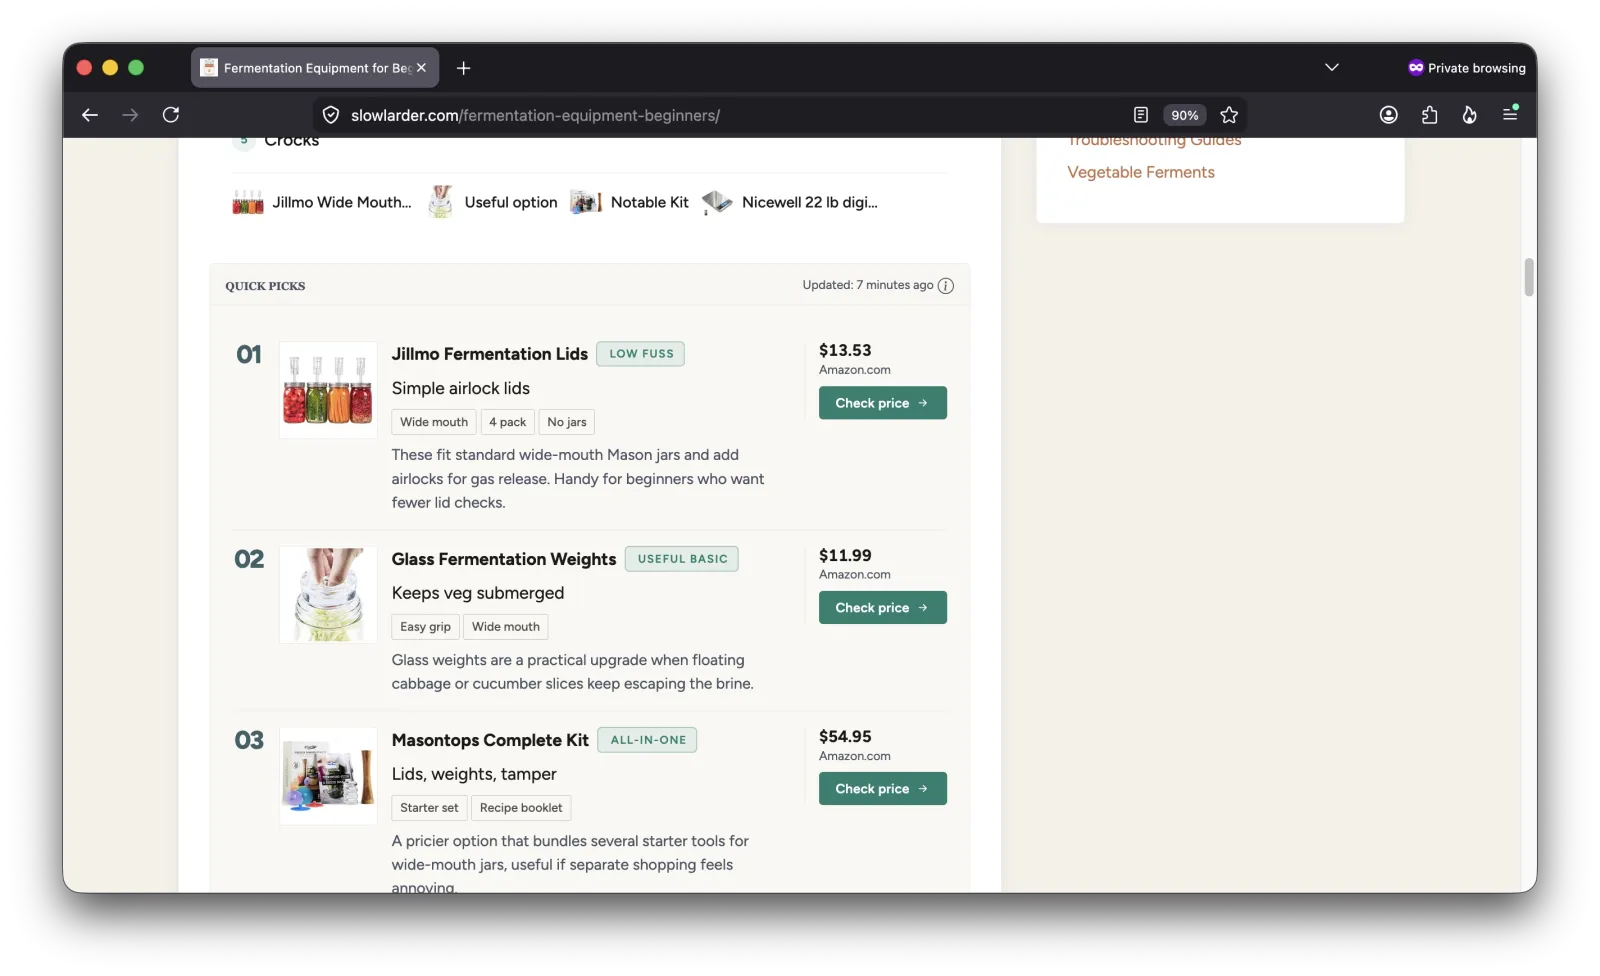
This is useful for articles like:
- product roundups
- buying guides
- comparisons
- beginner equipment lists
- “best tools for…” articles
The important part is relevance.
The product should help the reader solve the problem that brought them to the page.
That is the clean way to monetize.
Step 9: Starting with Amazon
Many beginners want to monetize with Amazon. That makes sense. Amazon has products for almost every hobby.
But there is one common problem: Amazon API access is not always available immediately.
The good news is that with Content Egg, you can start with the Amazon No-API module. That means you can begin building the site before everything is fully set up with the Amazon API.
You can work on the site, publish content, prepare product blocks, and apply for the Amazon Associates program.
Then, when you have your associate ID, you can add it and make your Amazon links affiliate links.
This is helpful because it removes one beginner bottleneck. You do not need to wait for every monetization detail before starting the site.
Start building the asset. Prepare the structure. Improve the content.
Traffic and monetization can grow from there.

Step 10: What you actually have after one day (and what comes next)
After one day, you can have:
- domain + hosting
- WordPress installed
- theme ready
- basic pages
- analytics connected
- full content plan
- articles generated
- publishing schedule
- monetization blocks
That is a strong start.
But it is still just the beginning.
Next, you should:
- review and improve articles
- add real photos
- monitor Search Console
- expand topics that gain traction
- continue publishing
The site exists after one day.
The business grows after that.
Final thoughts
You can build a niche website from your hobby faster than ever.
But speed is not the advantage.
Structure is.
If you want to do this properly:
- plan the site first
- generate content inside that plan
- improve it with real experience
- let it grow over time
Ready to try it?
If you want to build your own niche site like this:
- Try Too Much Niche to generate a full site plan
- See the live demo at slowlarder.com
- Use Content Egg to add monetization from day one
You can launch fast.
But more importantly, you can launch with a structure that actually has a chance to grow.